
After redoing a floor in our house (goodbye '70s striped carpet, hello driftwood oak laminate!) we were left with a lot of scrap wood. Especially inspired by Jessica Garvin on Pinterest, I decided to make a huge chalkboard.
 There are tons of recipes out there for DIY chalkboard paint. After unsuccessfully trying to find sandless grout in Walmart (and figuring I'd need a huge bag for just a couple of tablespoons) I came across Disney's chalkboard paint by Glidden. At $10.97 for a quart I figured I'd give it a try.
 I had a tiny paint roller left over from painting the miles of trim in our house and it was perfect for this job. I shook and stirred the paint can and dipped the roller right into the top of the can.

I'm pleased with how it came out! My mistakes were easily erased and didn't leave smudgy areas. The finish is smooth and not at all "rough" like I'd expect a chalkboard to be. I'm definitely looking forward to using the chalkboard for future gatherings. And I have tons of paint left over, so there will likely be some other "chalkboardized" things coming to this blog very soon. :)
 There are tons of recipes out there for DIY chalkboard paint. After unsuccessfully trying to find sandless grout in Walmart (and figuring I'd need a huge bag for just a couple of tablespoons) I came across Disney's chalkboard paint by Glidden. At $10.97 for a quart I figured I'd give it a try.
Without further ado, here's how I created my chalkboard! I don't have many in-progress shots but the explanation should be easy to follow.
What I used to make my chalkboard:
- Old piece of subfloor (any piece of wood in the size you'd like will do)
- Wood filler
- Oscillating sander (a sanding block or sandpaper would work just fine if you don't have a power tool)
- Tiny paint roller
- Primer
- Quart of Disney Great Slate chalkboard paint by Glidden
How I made my chalkboard:
1. Choose the Material

I selected a piece of old subfloor that measures about 2' by 4'. The back is ripped and had some mold. The front was cracked and also had some mold. So before I did anything else, I sprayed the heck out of it with some mold killer and brushed off loose dirt with a wire brush.
2. Prep
Prepping my piece had several steps.
First, I used wood filler to fill in some of the cracks, knots, and uneven parts of the board. If you use a nice new smooth board you can probably skip this step.
After I filled in as much as I could, I used a hand sander to smooth out the rough edges of the wood filler.
Lastly I applied a thick coat of Kilz primer in order to make a good surface for the chalkboard paint to adhere to.
3. Paint
This was the fun part. It's also the point at which I finally read the directions on the paint can. Here are the important takeaways:
- Prime first (check)
- Apply two coats with a roller, waiting four hours between coats (check)
- Allow to cure for 7 days before use (oops - I started painting with 4 days to go until the party I was making it for!)
 I had a tiny paint roller left over from painting the miles of trim in our house and it was perfect for this job. I shook and stirred the paint can and dipped the roller right into the top of the can.
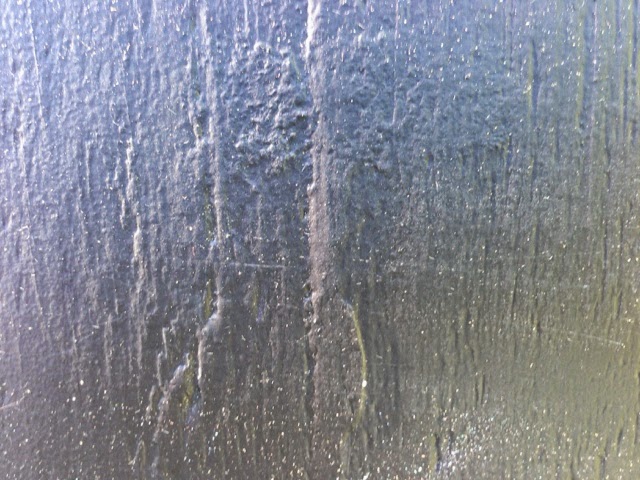
Over the course of two days I applied three coats of chalkboard paint to my board. I figured the extra coat would help because there's still a lot of wood grain on the surface despite a few rounds with wood filler.
4. Write!
I waited about three days for my chalkboard paint to cure. By then it was party time and time to write! I found a colorful assortment of Crayola sidewalk chalk left over from our camping days and went to it. I found it useful to lay out what I wanted on paper before creating my chalkboard.
Final thoughts & future ideas
The fact that I didn't wait seven days for the paint to cure had no effect on my board, but I'd recommend following the directions to be safe. I may either paint on a border with regular paint or add a frame made of other scrap wood.
Looking for an even easier chalkboard? Check out our printables.
This post previously appeared on the Marion's Mittens blog.
Looking for an even easier chalkboard? Check out our printables.
This post previously appeared on the Marion's Mittens blog.
No comments:
Post a Comment